How to Upload Local Git to Github
In this tutorial, we will larn How to create your own local Git repository on Windows. Instead of using an online Git Repository like GitHub, BitBucket, and DevOps Azure, we volition use a local folder and initialize it as our local lawmaking storage. Using a Git Repository we'll assistance us share our lawmaking with our fellow developers. This is commonly used in development with more than 1 developer working on the aforementioned projection.
What is Git repository used for?
A Git repository contains all of the project files and the entire revision history. This creates a . git subfolder, which contains all of the Git metadata for tracking changes
Before we proceed to the side by side steps, please make sure that yous have a Git installed on your car. Y'all may also visit this link to download the latest Git for windows. link
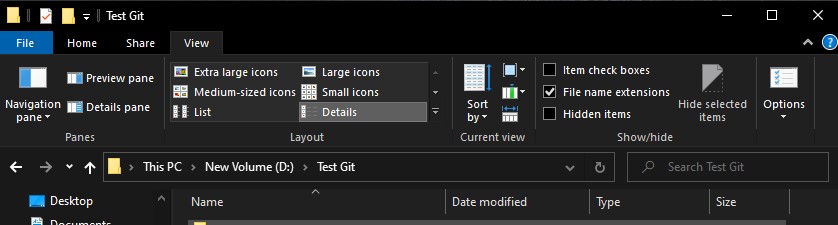
I. Create a binder
Create a folder where you want to put your local Repository. In my example, I create a folder named Test Git.
Two. Create and initialize a Repository
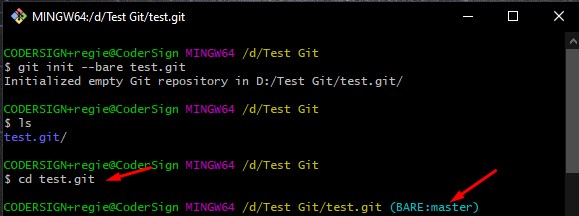
Now, allow's create the bodily repository. To do that, cd to the Exam Git binder and use the code to create and initialize a repository.
git init --bare test.git - git init » this commandcreates a new Git repository
- –bare » this creates arepository that doesn't have a working directory, making it impossible to edit files and commit changes in that repository. You would create a bare repository to git push button and git pull from, but never directly commit to it.
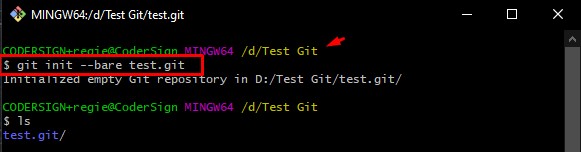
To check if the initialization is successful, you can bank check using 'ls' command to view if the exam.git already exists on the Test Git directory. You may as well open up the bodily folder directory as shown beneath.
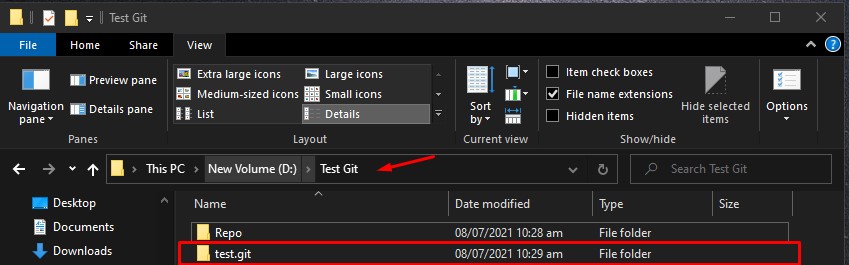
Now, cd to the test.git repository y'all will see a '(Bare:master)' this will confirm that our repository is working.
Three. Clone local Repository using Visual Studio
At present, that you have successfully created your local repository, let'southward add some files and push using Visual Studio. In this tutorial below is the URL/path of my repository.
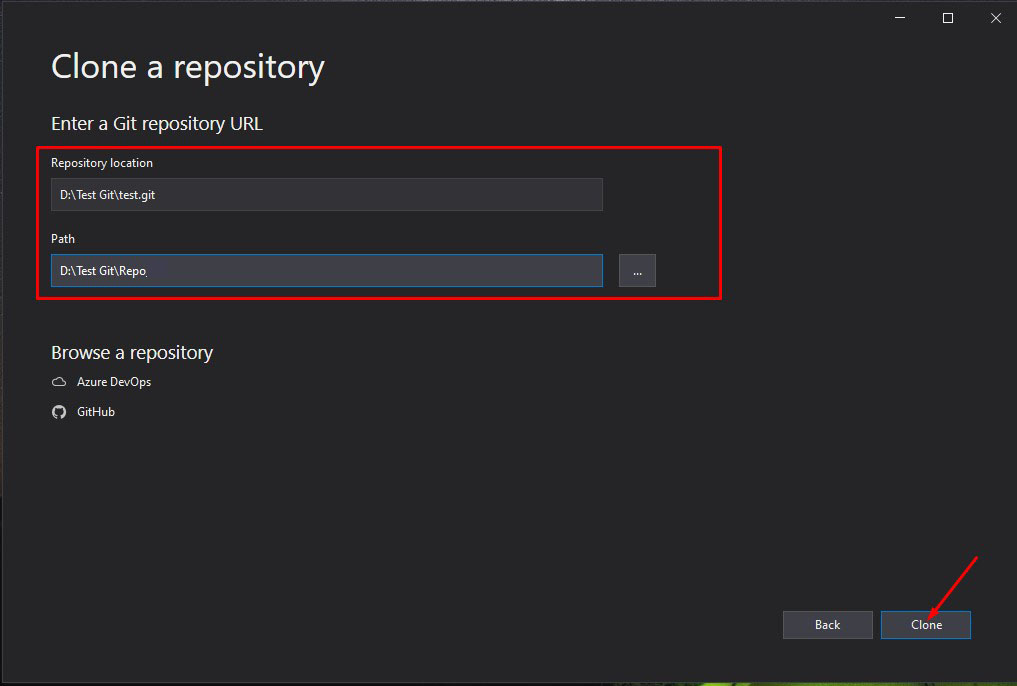
D:\Examination Git\exam.git Nosotros will clone our repository using Visual Studio and add some files. To practise that, follow the steps beneath.
If you prefer to clone your repository using a command prompt you may use the code snippet below. Choose a location from your local directory and execute this code.
git clone D:\Test Git\examination.git Cloning using Visual Studio 2019
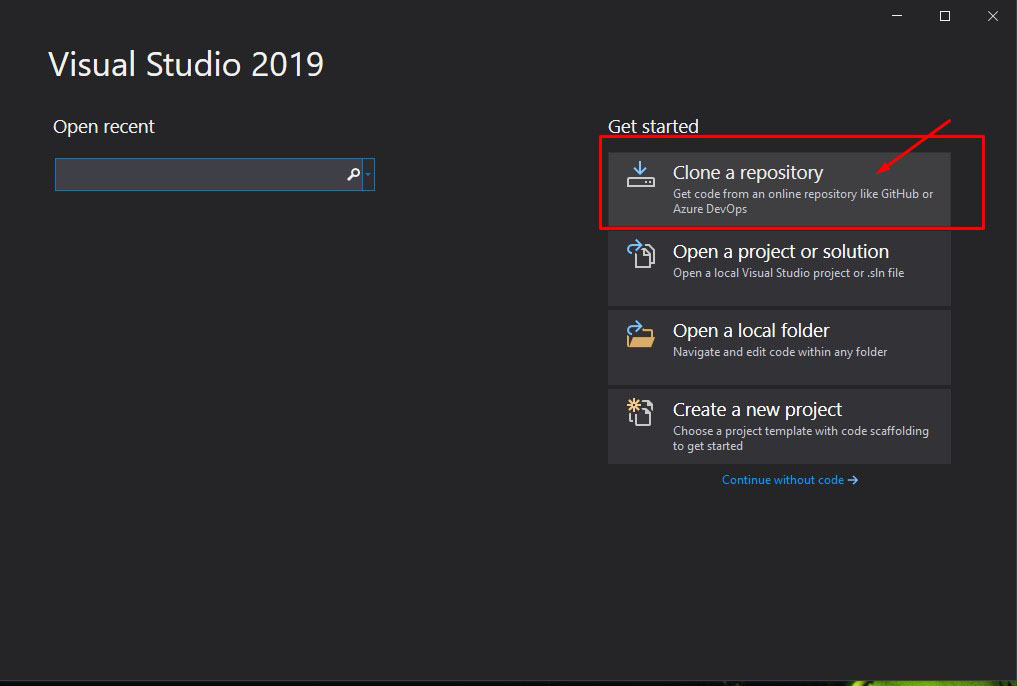
- Open Visual studio and so select Clone Repository.
2. Input Repository path like shown below.
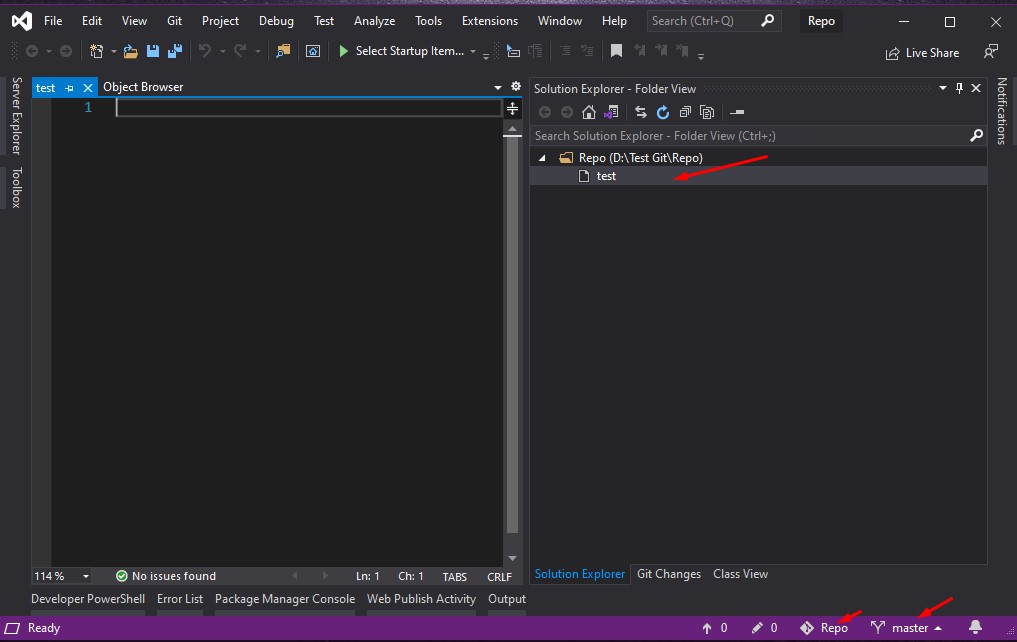
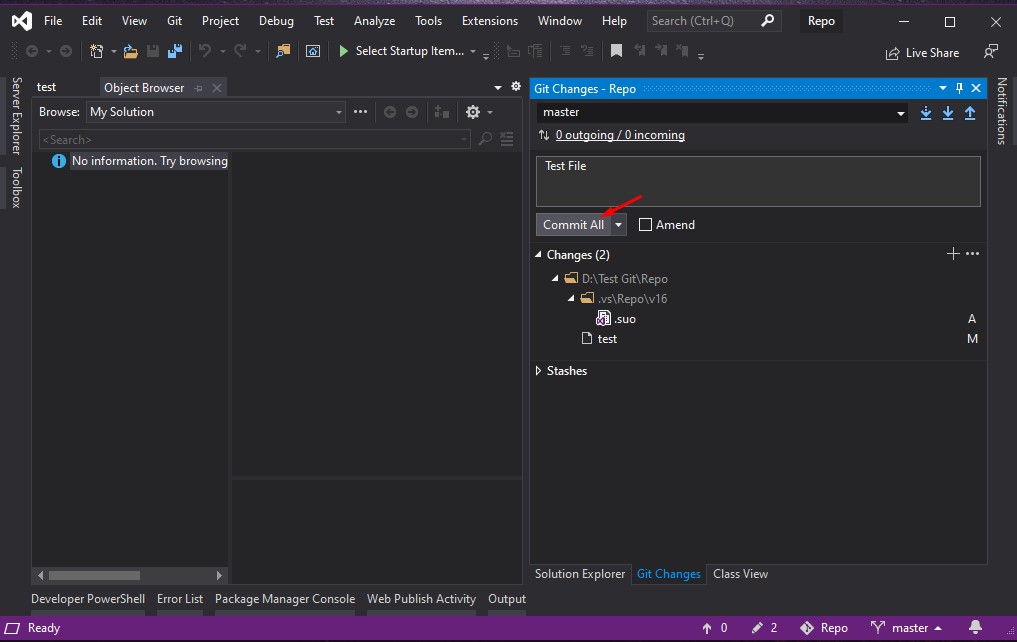
three. You will be prompted with a black solution since nosotros don't have any files nonetheless. Let's add a sample file to the repository. In my instance, I added a test File. Encounter the prototype below.
IV. Push File to the Repository using Visual Studio.
At present, that we have the file commit, and push the changes to our local repository.
- Open Git Changes Tab. Commit changes.
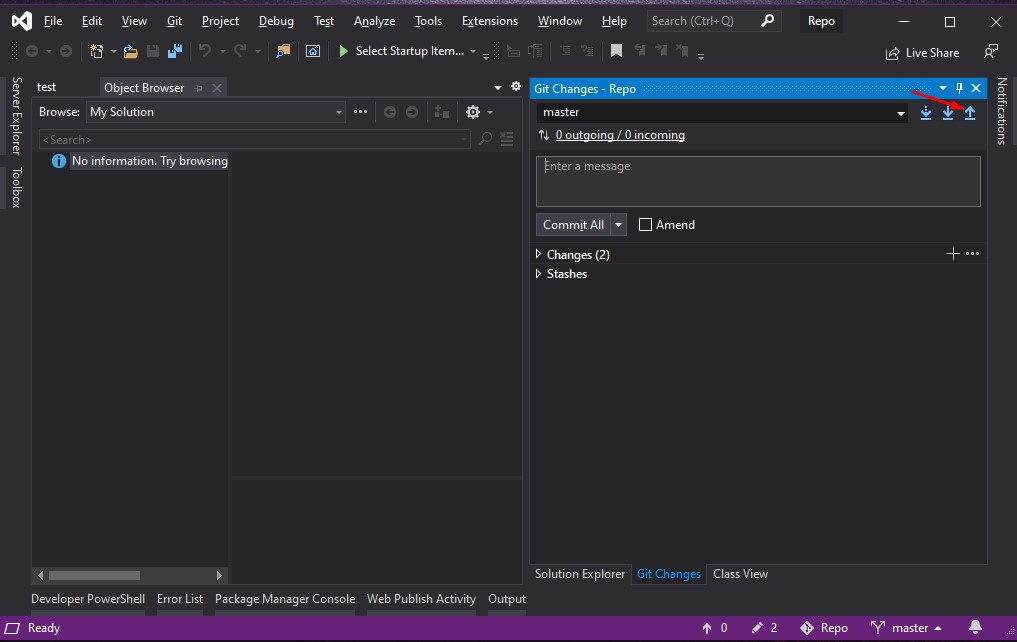
two. Button your committed changes.
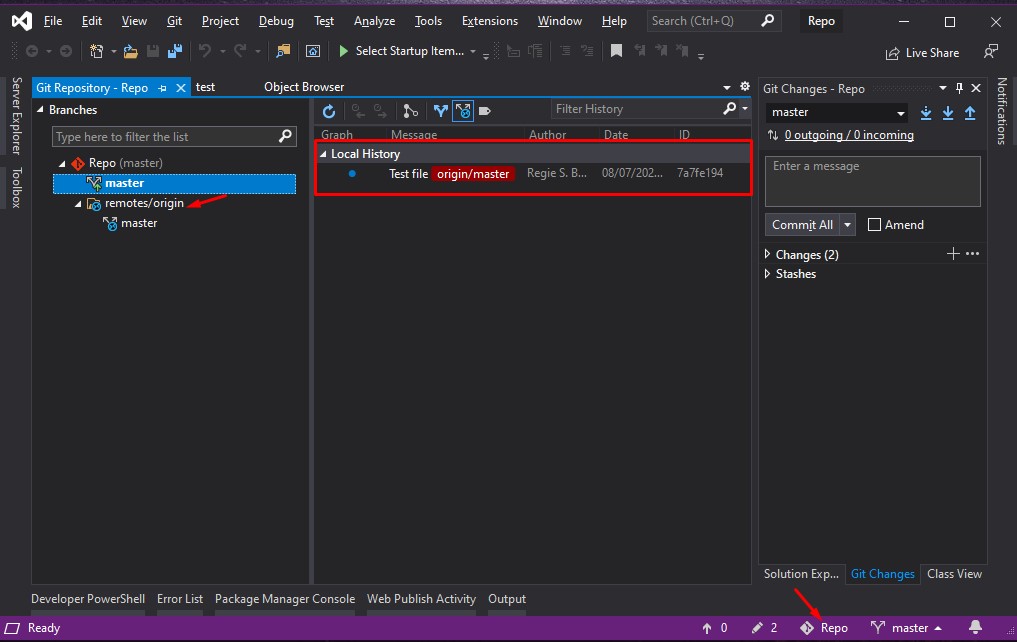
3. Now, once you lot have done the steps to a higher place, you can check your changes past viewing the branch commit history. You can also view even your remotes repository. See the image below.
5. Git Bash Command
- Git Status
This can give you information such as:
- Your current branch
- Whether your current co-operative is upwards to date
- If there's annihilation in the branch that needs to exist committed, pushed, or pulled.
- If you have whatever files that are either staged or non staged.
- And if you have any files that are created, modified, or deleted.
$ git status 2. Git Add
This command volition tell GIt to add a file to track information technology and add it to the staging file.
$ git add <file-name> This command adds a specific file.
$ git add . This will add all the changes to the staging area.
iii. Git Commit
This control will salvage the changes fabricated from your local repository.
$ git commit -a This volition commit all the changes in the directory you're working in. Once this control is run, you'll be prompted to enter a commit message.
$ git commit -m 'commit message' 3. Git Push
To make all your committed changes bachelor to your teammates, you'll have to push them to the remote origin.
$ git button <remote> <branch-proper name> Notation: This will only button all the committed changes.
Vi. Summary
In this tutorial, we have learned how to create your own local Git repository on Windows. To share the local repository that we create on this tutorial, we simply need to share the folder where we place the repository. Past using your local IP (//192.18.2.3/Test Git/test.git) you lot can share your changes with your teammates. Using a repository was also made easy by using Visual Studio since it has built-in functionality that adds, commits, and pushes changes without using a command prompt. Hopefully, this tutorial helps you collaborate with your squad on your hereafter projects.
alfordandesch1958.blogspot.com
Source: https://www.freecodespot.com/blog/create-local-git-repository-on-windows/
0 Response to "How to Upload Local Git to Github"
Publicar un comentario